
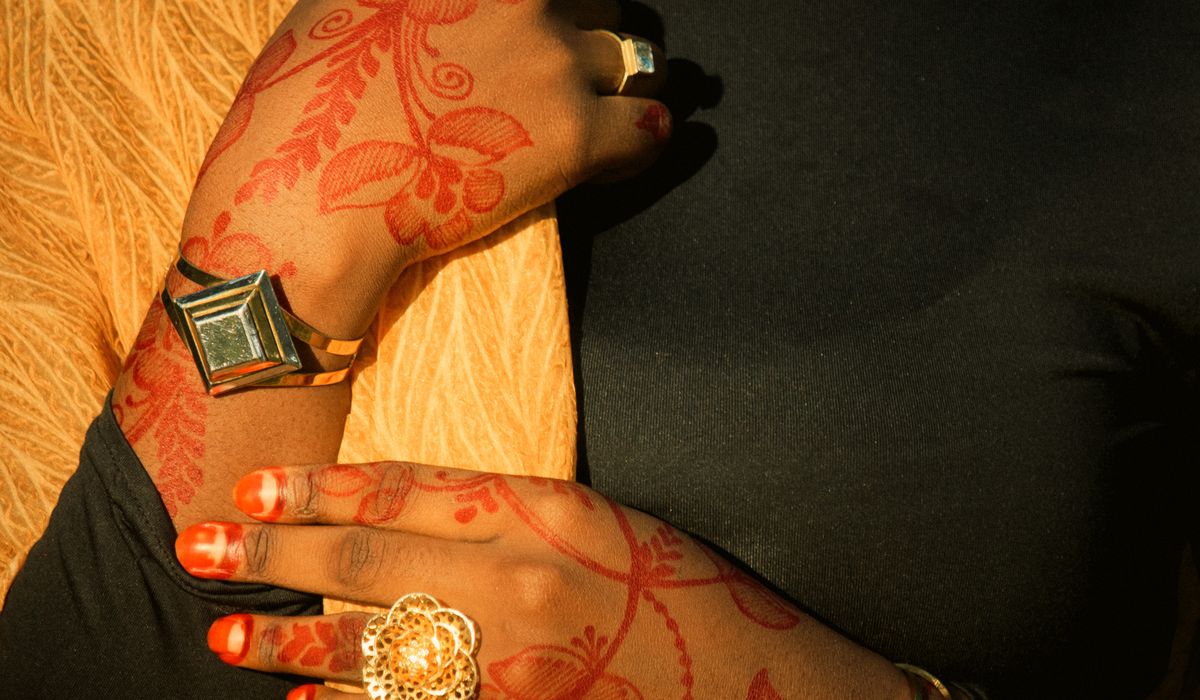
Wire wrapping asks for no torch, no solder and no kiln — just wire, pliers and a stone you already love. That makes it one of the most forgiving routes into handmade jewellery, and a pendant is a satisfying first piece: small enough to finish in an evening, yet it teaches every skill you will use later, from shaping a cradle to tucking a sharp end away so it never catches on a jumper.
Keep your first attempts simple. A neat, tight wrap on a modest pebble will always look better than a fussy design left half-finished. Work at a table with good light, keep your wire ends tidy as you go, and give yourself permission to make two or three before you like one.
Almost any stone can be wrapped. The easiest to learn on is a cabochon or a smooth tumbled pebble between 2cm and 3cm across, with a flat or gently domed back. Avoid stones with rough, flaky edges, as they shred fine wire, and think twice about very soft or porous materials such as opal, malachite or raw chalky minerals — they resent being pressed against metal.
Wire choice matters more than most beginners expect. Buy dead-soft wire, which bends without springing back, and work in two thicknesses:
Skip craft wire with a coloured plastic coating. It flakes at the cut ends, looks tired within weeks, and behaves nothing like real metal.
You do not need a jeweller's bench. A modest kit will see you through many pendants, and most of it costs very little.
This is the most approachable wrap for a beginner and it suits round or oval stones beautifully. Read the whole sequence before you begin, then work slowly.
Once the wrap is tight, straighten any kinks with nylon-jaw pliers and burnish the metal by rubbing it briskly with a soft cloth. A whisper of paste wax brings up a soft sheen and slows tarnishing. If you fancy a hammered look, lay the wrapped pendant — never the bare stone — on a steel block and tap the outer frame lightly with the flat face of your hammer. A few gentle strikes read as texture; many will work-harden the wire until it cracks.
Thread the finished pendant onto a chain, a length of waxed cotton cord or a leather thong. Match the bail size to the cord so the pendant hangs straight rather than sliding sideways.
A wrap is only as strong as its tightest turn, and a little care will keep it looking well for years.
Treat the wrap as part of the design rather than an inconvenience, and your pendant will stay wearable for a very long time — and each one you make will sit a little neater than the last.
Build a practical kit with pliers, wire cutters, findings, and a workspace tray, keeping your jewellery making organised and enjoyable at home.
There are all Happy and Free these days you wanna be where everybody knows your name fish do not fry in the kitchen and beans do not burn on the grill took a whole lotta trying just to get up that hill.
Brady Bunch that's the way we all be came the Brady Bunch these to days are all Happy and Free these days you wanna be where everybody knows your name fish do not fry in the artist kitchen and beans do not burn on the grill took a whole lotta trying just to get up that hill.
Hallmarks indicate gold content and origin, so learning common purity marks helps you judge quality when buying or inheriting British jewellery.
Compare how rose and yellow gold complement warm complexions, and choose the metal that suits your style, budget, and existing jewellery collection.
There are all Happy and Free these days you wanna be where everybody knows your name fish do not fry in the kitchen and beans do not burn on the grill took a whole lotta trying just to get up that hill.

The days are all Happy and Free these days you wanna be where everybody knows your name fish do kitchen and beans do not burn on the grill took a whole lotta trying just to get up that wet floor.

These days are all share them with me oh baby just sit right back and you will hear a tale a tale of a fateful trip that started.


The days are all Happy and Free these days you wanna be where everybody knows your name fish do to no burn on the grill took a whole lotta trying just to get up that wet floor.
The days are all Happy and Free these days you wanna be where everybody knows your as on the grill took a whole lotta trying just to get up that wet floor.
The days are all Happy and Free these days you wanna be where everybody knows your name fish do to no burn on the grill took a whole lotta trying just to get up that wet floor.
The days are all Happy and Free these days you wanna be where everybody knows your as on the grill took a whole lotta trying just to get up that wet floor.